If you’re used to hooking with fabric strips, it’s worthwhile to learn how yarn hooking differs from wool fabric. I’ve broken the technique down into steps. Take your time at first, then gradually, your fingers will learn the technique, allowing you to speed up.
You could hook with yarn the same way you hook with fabric strips, but you’d be giving up the speed of working with yarn. With fabric strips, you have to be careful that you don’t let the strip twist across the back, and you don’t want to rough up the edges of the strip too much. None of that applies with yarn. You can hook and re-hook yarn without damaging it in any way, and it can’t leave a bump in back. Yarn is already twisted, so it naturally pulls up snug in the back.

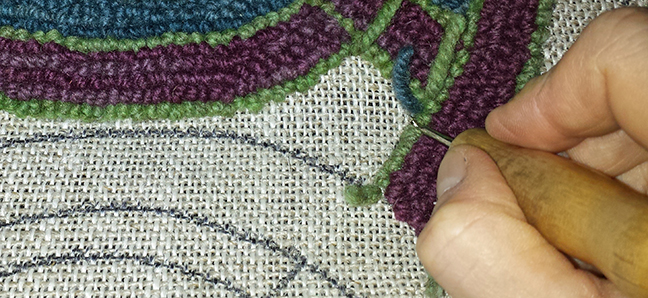
I’m right-handed, so I hold my hook in my right hand. My left hand is underneath, controlling the yarn. Push in the hook where you want to begin (Figure 1 above).
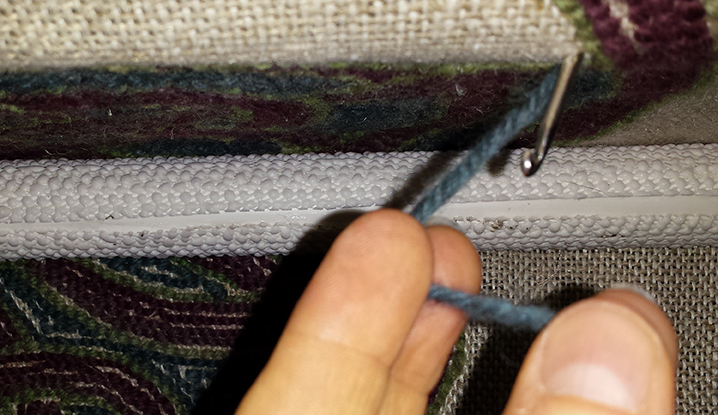
Connect with the yarn below; then pull the end up through the backing, to the top, just like you do with fabric strips. Next choose a hole near the medium blue tail (usually right next to the tail, or skipping one thread in the backing, depending on how thick the yarn is) and put your hook through the backing again (Figure 2 above).

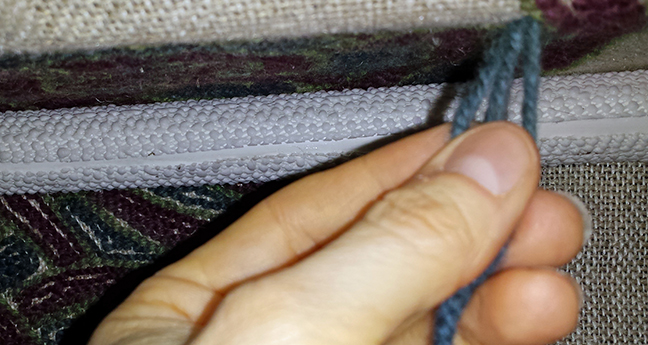
Your left hand can hold up the backing initially, so you have something to push your hook against (Figure 3 above, view from the underside of the rug), until you get your hook through, but then “slide” down the yarn with your left hand for a couple of inches (don’t pull, just slide).
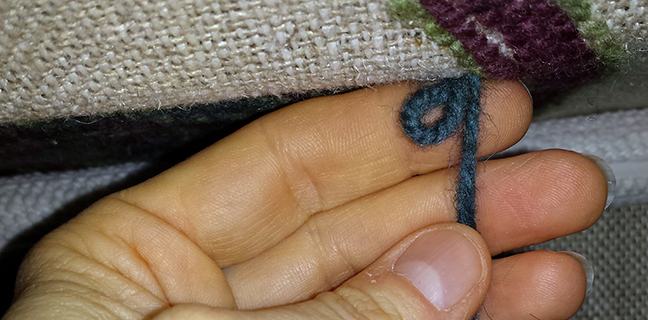
Notice that I’m not letting the yarn flop around underneath, I have it under control in my left hand all the time (Figure 4 above, shown on the underside).

With your left hand underneath, lift that part of the yarn up, and connect the yarn to the hook, between your left thumb and fingers.
It really helps if you pinch the yarn onto the hook with your left hand while you pull the loop through to the top. This keeps the yarn connected to the hook, so you avoid “splitting the yarn” (Figure 5 above, shown from underneath). (If you notice that you’re splitting the yarn, remind yourself to pinch down on the slack while you’re pulling your hook up)
Keep pinching down on the yarn until your hook is through to the top (Figure 6 above, showing underneath).
Then let go with your left hand underneath and feel the slack in the yarn pulling up (Figure 7 shows that the slack is pulling tight. Keep feeling for that loop to pull tight against the back. Then you know to stop pulling up with your hook).
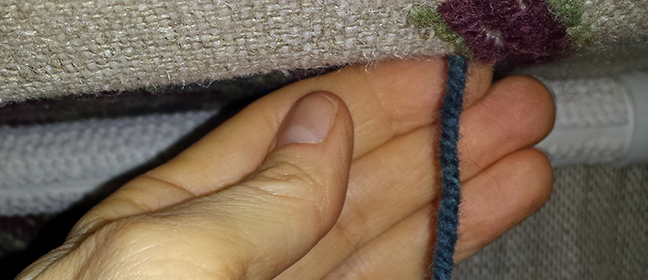
Figure 8 (above, showing underneath) shows what that looks like when you have pulled the slack tight in back.

Figure 9. This picture is the top view from Figure 8. As you pull up on the loop, your left hand feels for the slack to pull tight in the back. As soon as you feel that, you can stop pulling up on the loop.
The reason to give yourself that slack in the yarn is so you don’t pull out the previous loop. When we hook with fabric strips, it’s more like a fluid move. By breaking the process with yarn down, we only have to do one thing at a time. The whole process becomes rhythmic, like knitting or crochet. So when you’re learning, don’t move on to the next step until you’ve finished the one you’re on. Take your time at first, it will become fluid with practice, I promise.
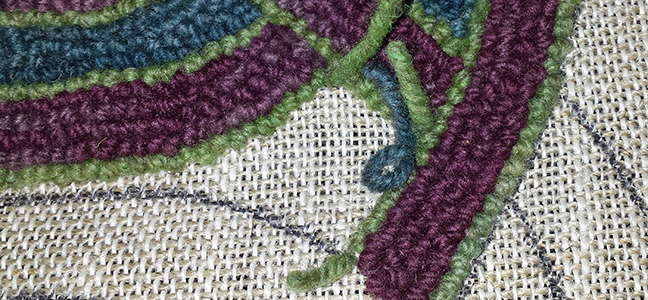
Figure 10. Next, with your left hand, pull the loop on top of the backing down to the desired height, usually about 1/8 of an inch. In general, the loop should be about as tall as the yarn is wide (see Figure 11 below). Practice making all your loops the same height.

Figure 11. Here you can see I’m pushing my hook in next to the loop I just made, in order to start the next loop.
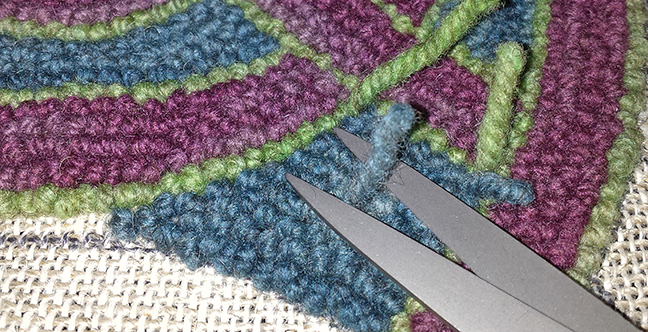
When you come to the end of a section and finishing off your tails, it’s the same as hooking with wool strips. Bring all your tails to the top, and trim them once they are surrounded (see below).


When we hook with fabric strips, they tend to fold on top into neat little rectangles. Yarn is lofty and round, and needs more room to spread out. The yarn loop should look like a little ball from the side, sitting above the backing. If you hook every strand in the backing with yarn, you’ll end up with something like Virginia (previous chapter), a rug that curls on the edges. This is not only a colossal waste of yarn, it’s also a hazard (somebody could trip on it). Notice how close the red yarn is on the back in this picture above, as opposed to the rehooked section in the photo below.
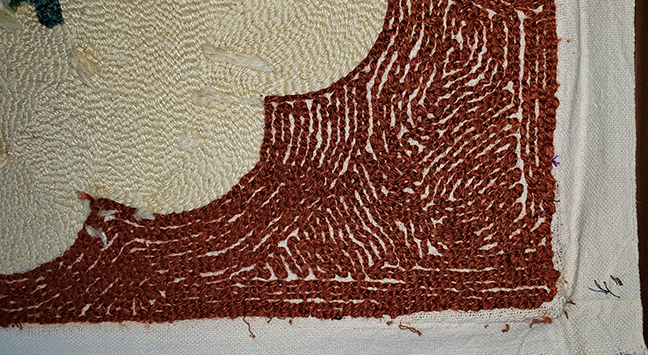
As you hook with yarn, check the back of the rug once in a while. You should be able to see gaps between rows of hooking, but no gaps on top. This is because yarn spreads out on top. This photo (above) shows how much room the rust-colored yarn takes up on top, without curling the edges of the rug.

To recap, in the picture above, the loops on the left are too short and stubby (they look like they could easily be pushed through to the back). The loops in the middle are too high and insecure (leading to the tendency to overpack the loops to make them secure). The loops on the right are correct. They look round on top. If you push them on their side, they stay put.
Next Chapter: To Dye For
